
When ever we attend our SU mum's fabulous training events, Julie always shows us a quick and easy card for workshops and then a stepped up version, well today's card is a really 'Stepped-Up' version of the black and whisper white card I featured yesterday, using the 'SALE-A-BRATION' 'Fresh Vintage' Stamp set.

Its larger in size too!!
Measuring in at 8x8"!!

I made this to give, to Deborah yesterday,
for her 21st Birthday!! ;-)

I gave the numbers, which were die-cut with the 'Big Shot'
and the 'Timeless Type' dies-
a sprinkling of the 'gold antique glass glitter'

I created some paper flowers, using the very vintage looking
'First Edition Newsprint- Designer Series Papers'

I added a double bow using my last piece of crochet trim and
the lovely 'Crumb Cake- Seam Binding',
with an 'Antique brad' for embellishment.

It doesn't show up to well, but I gave the flowers a squirt,
with some watered down,'Champagne shimmer paint'.

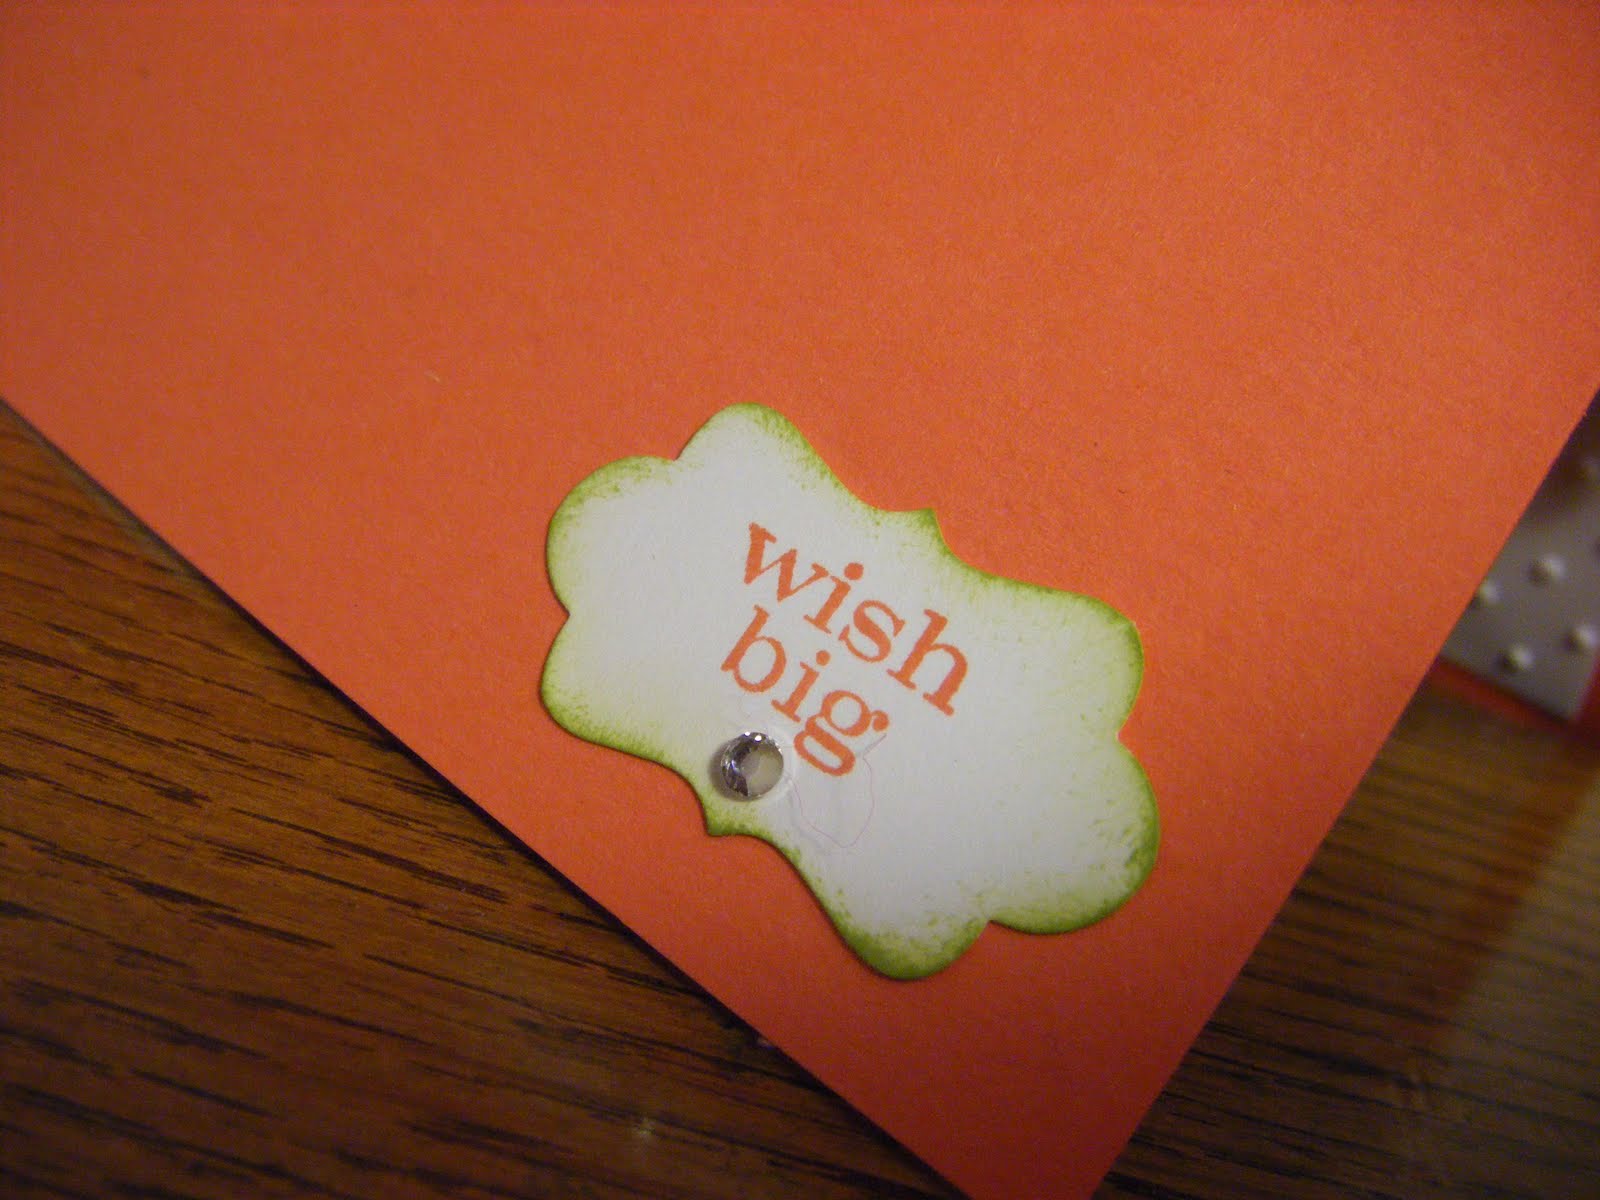
Here you can see that the inside got a little stamp action too, and as the card was a little too big for an envelope,
I decorated a brown lunch sack for it!
I hope you like this 'Stepped Up!' card, I love that you can get so much use out of stamps! I will be back tomorrow with another make that features, the 'Fresh Vintage SALE-A-BRATION' stamp set and the lovely 'Simple Adorned' 'Stampin' Up!' jewellery line.
xXXx


 The layout is cased from a previous SU catalogue, do you recognise it?? it has had a few product changes but the colours and actual placement are the same.
 I did some computer generated journalling, and printed it onto our 'Whisper White' card and the title was cut in 'Pumpkin Pie' using the 'Timeless Type' dies & the 'Big Shot'. I think this is the big he dislikes the most, as while glaring at me he read it, and then stomped off, but it's from the heart!

 A little punching of 'Old Olive' card under the photo, using the 'Spiral Border' punch. You can just see another of the strips of the 'Brights- Designer series paper' as well.
 The cloud was cut free hand and 'Tempting Turquoise' ink was sponged around the edge, and the hearts were stamped from the same set as earlier and added up the side of the photo.


 When I had finished the 12x12" base, I had a look through my box of photo's and came across this one of 'Foxy....sunday name Foxglove!' she is our beautiful 'so grey- she is white' pony, she taught Heather how to ride, and 'Baggins' that wheelie bins and blue garden plants won't kill you! Anyway if I told you were she was when I took this photo, of her with heather and Matty...you would think I was crazy....well, yes, I am! And yes, she was in the living room!
 A few splats were add, by flicking the plastic tube in the spritzer accross the page.....
 I felt that the base page needed something to draw the eye from the decoration at the bottom, to up and across the page so added a few butterflies from the 'Strength & Hope' SU stamp set.
 I then created a wide matt for the photo using the same butterfly, by stamping it in 'Basic Black' around the edge of a piece of the textured white card, I also dragged the ink pad around the edge of the card to define it.

 And the reason for folding the 'Top-note' die cut in half...well it gave me a little area to add some journalling...well I don't want the whole world to knew that i had a pony in the living room! ;-)
 Don't forget about the fantastic offer from 'Stampin' Up!' if you place an order for £75 or over, or host a workshop with sales totalling over £250 before P&P, you get the fantastic cosmetics tote, ribbon and clips, so everyone gets a chance of this offer I am placing weekly orders myself, so email me to find out more. xxx


 I have used the fabulous '
 The letters were cut with the 'Timeless type' alphabet dies, Birds cut with the 'Two step bird punch' in 'Rich
  I added some hearts stamped from the 'I heart hearts' stamp set and punched out with the hearts punch, some were dangled from linen thread, for the centre love panel.

 In a hurry today as I have my class and a chocolate treat yet to get!! xx

 The pictures were stuck, on a 1/4 of the way down, at 'Jaunty' angles and the over hang trimmed off. Next job was to make some kind of title....now when I had first signed up to demo a few weeks ago, Julie- my SU mum and up line mentioned that one of her jem's had used the four labels stamp set and the co-ordinating punch, to make bunting. Now I haven't seen that bunting, but with that idea in mind I went on to create my bunting, using the same ink colours that I had used for the stars-Pacific Point, Real Red, Tangerine Tango, Daffodil Delight, Melon Mambo & the in colour 'Pear Pizazz. I made a score line about 3/4 of a centimetre, down from the short edge and used some wet glue to fix the flags to a piece of string.
 The black title letters were die cut, using my 'Big Shot' & the 'Timeless type' alphabet dies, a little journalling was added to the bottom and a quick doodle around the photo's and my page was finished.
